Install the Raspberry Pi OS
An operating system needs to be installed onto the Micro SD card before inserting it into the Raspberry Pi.
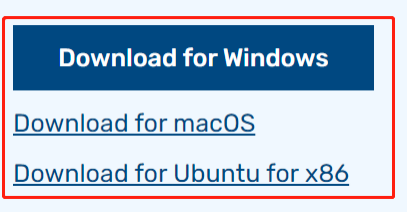
Browse to the Raspberry Pi Imager site and download the version that matches the computer or laptop’s operating system (www.raspberrypi.org/software). When the download is complete, launch the installer program and follow the prompts to install the Raspberry Pi Imager.
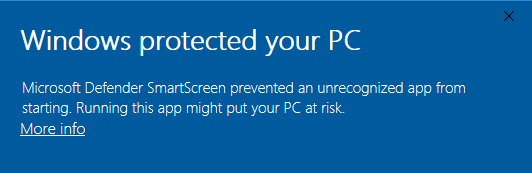
If the Windows operating system prevents the application from launching, click on More info and then click on Run anyway to install the Raspberry Pi Imager.
Insert the Micro SD card into the computer or laptop’s SD card slot. If the computer or laptop only has a full-size port for SD cards, use a Micro SD card adapter.
In the Raspberry Pi Imager, click CHOOSE OS -> Raspberry Pi OS(Legacy).
Warning
Please do not install the Bookworm version to avoid the double-click function and the virtual keyboard not working.
You need to install the Raspberry Pi OS (Legacy) version - Debian Bullseye.
Additionally, for a perfect touch experience, it is recommended to install the Ubuntu system.

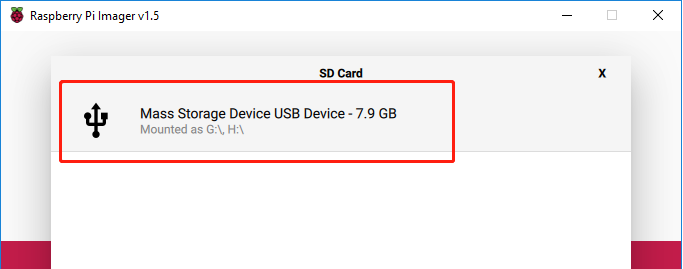
Select the SD card you are using.
To open the advanced options page, click the setting button (appears after selecting operating system) or press Ctrl+Shift+X. Now, set hostname, enable ssh and set the username and password.
Warning
Make sure to note down the
hostname,username, andpassword; they’re crucial for later remote access to the Raspberry Pi.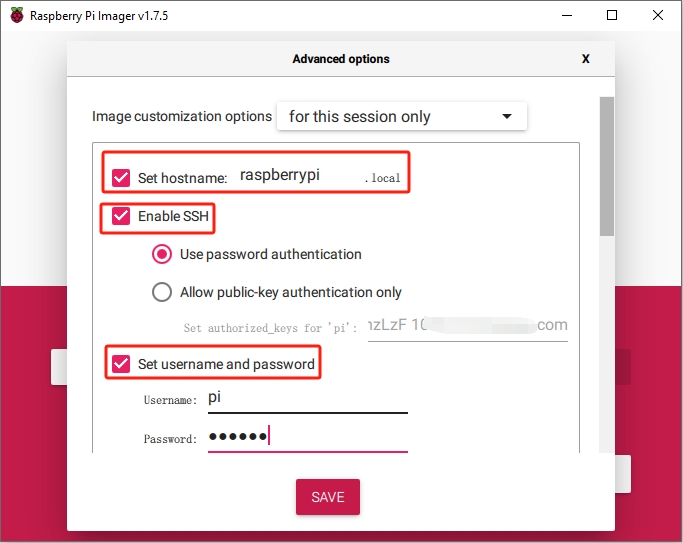
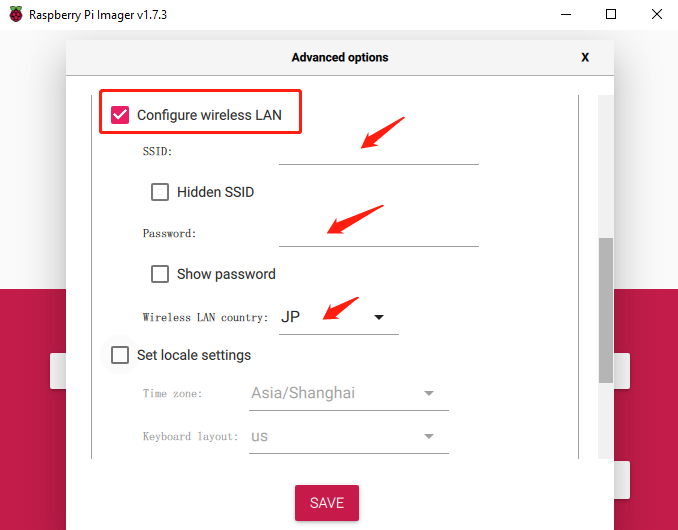
Then scroll down to complete the wifi configuration and click SAVE.
Note
wifi country should be set the two-letter ISO/IEC alpha2 code for the country in which you are using your Raspberry Pi, please refer to the following link: https://en.wikipedia.org/wiki/ISO_3166-1_alpha-2#Officially_assigned_code_elements
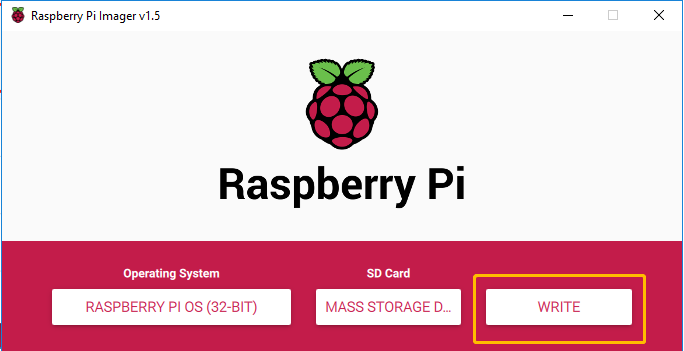
Click the WRITE button.
The Imager will overwrite any files already on the SD card. If the SD card has any files, back up these files before clicking Yes.

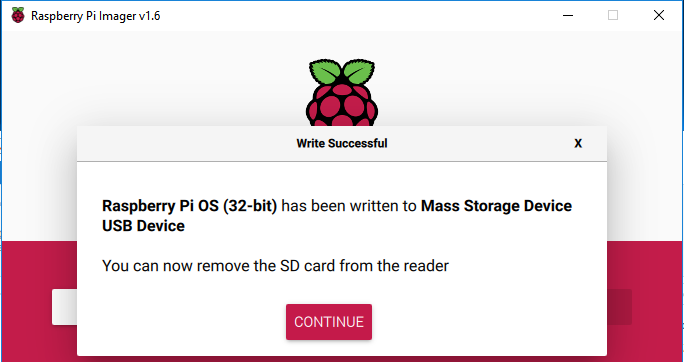
After the Imager completes installing the Operating System on the SD card, click Continue to complete the installation.
Now insert the Micro SD card with the system installed into the Raspberry Pi. The power button is on the right side. Press and hold for over three seconds to power the RasPad on or off. A short press will turn the screen on or off.
Note
Before use, it is recommended to fully Charge the RasPad.
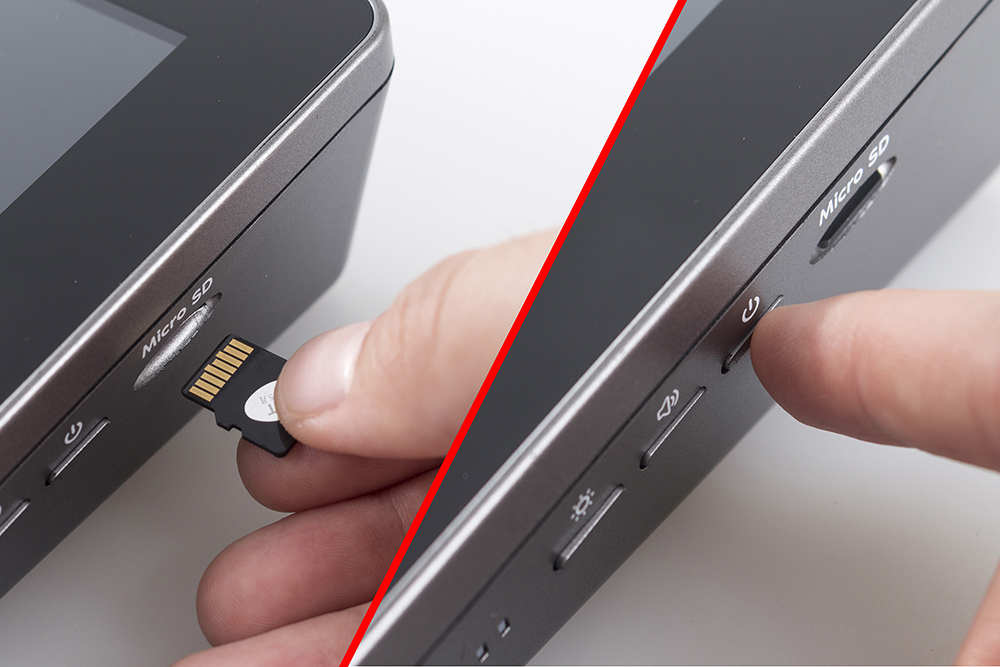
Warning
The SD card slot is a snap-in style attached to the back cover. Before removing or replacing the back cover, remove the Micro SD card to avoid damaging the Micro SD card and the RasPad’s internal button board.