Assemble the Camera Module
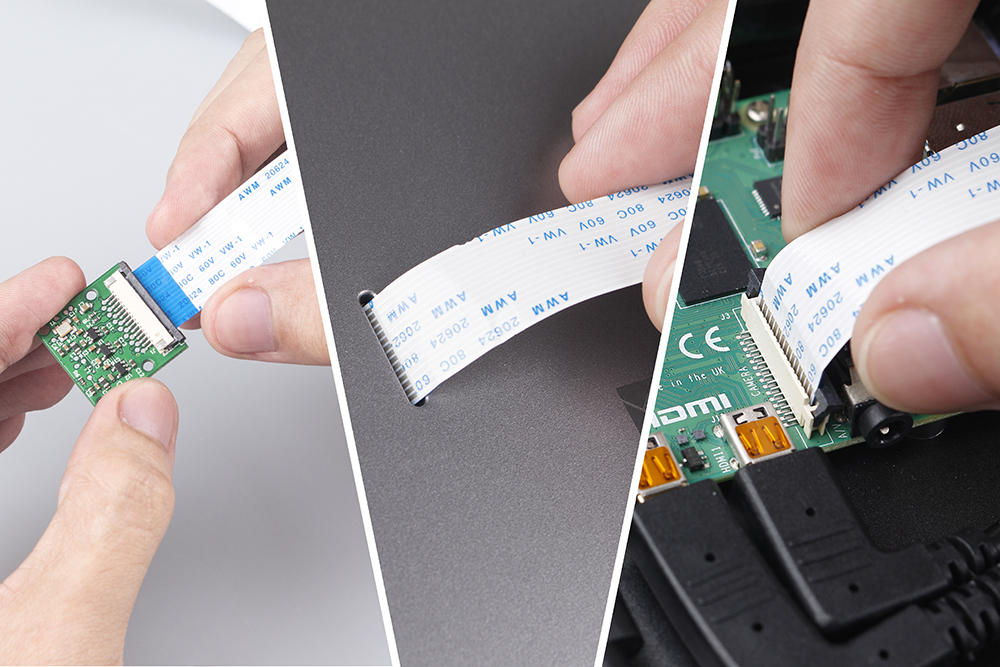
Open the back cover of the RasPad. Connect the FFC cable to the CSI interface of the Camera Module. Carefully pass the CSI interface cable through the slot on the back cover of the RasPad. Connect the CSI interface of the Raspberry Pi. Then carefully close the back cover of the RasPad.
Warning
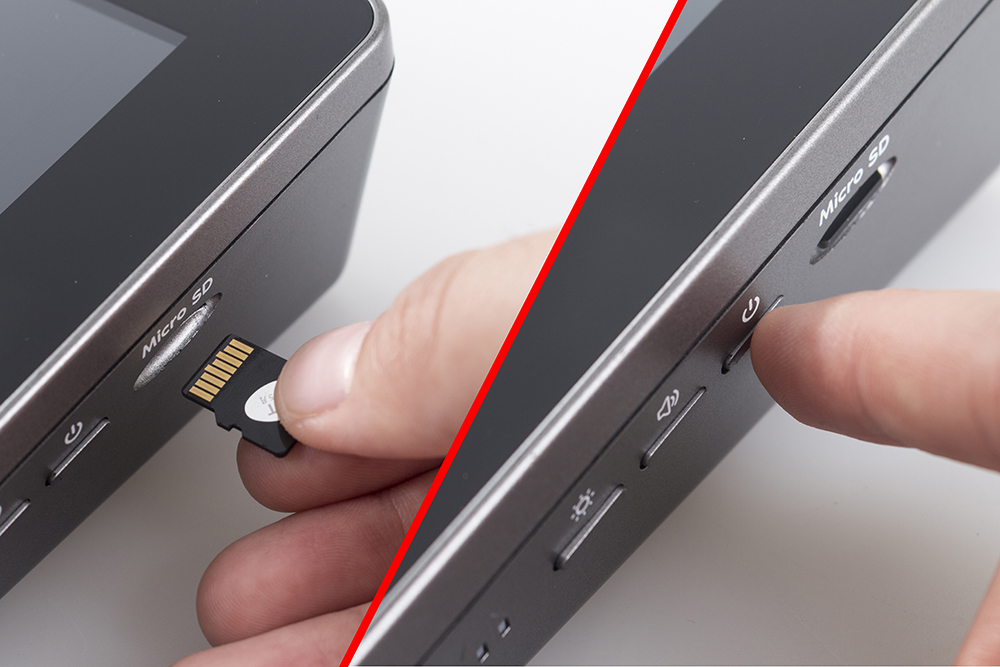
The SD card slot is a snap-in style attached to the back cover. Before removing or replacing the back cover, remove the micro-SD card to avoid damaging the micro-SD card and the RasPad’s internal button board.
Insert the micro-SD card with the Raspberry Pi OS image into the slot, and long-press the power button to boot the RasPad.
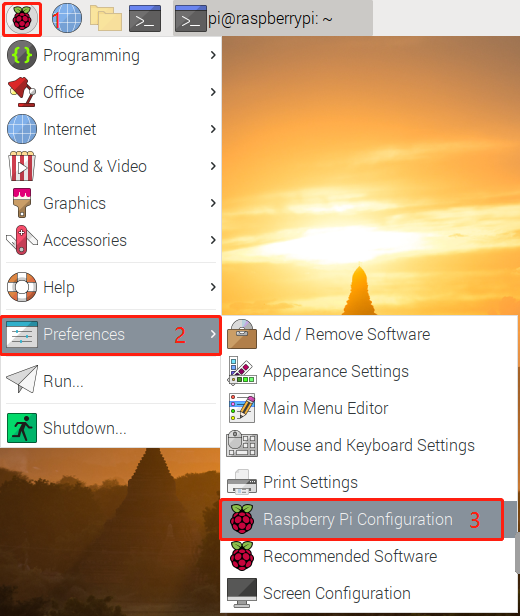
Open Raspberry Pi Configuration.
In the Interfaces option, Enable the Camera, and then click OK.
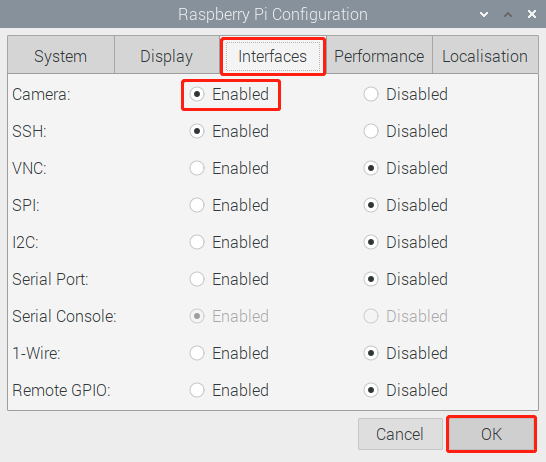
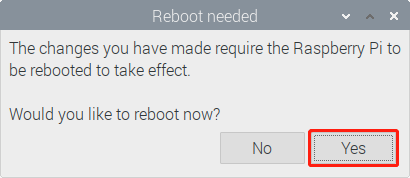
In the pop-up prompt box, choose to restart now.
After the restart is complete, use the following command line to check whether the camera is available.
If the camera screen appears it means that the camera is installed successfully. Otherwise the FFC cable needs to be unplugged and plugged in again.
raspivid -o vid.h264